This build is special for me. The kit was purchased, started and completed in just one month, which is a first for the past 20 years or so. I wanted to postpone the clash with it, but I could not resist.
The first thing you should know is that you need to forget most of the modelling stuff you’ve learned over the years. Since the model is a fast build/snap kit:
– DO NOT DRY FIT PARTS, or keep it to a minimum. Fit’s so tight on some parts you won’t be able to disassemble what you put together.
– FOLLOW INSTRUCTIONS STEP BY STEP or model in a separate room, for the words you will utter will be inappropriate for younger, female or senior audiences.
– MINIMIZE PAINTING, especially on drive sprocket and idler. If you go with your ordinary number of paint layers sprockets’ teeth won’t fit in the track windows, and track will be very tough to bend around the idler.
My overall comments:
– whenever there’s a plate covering some void (turret base, hull middle plate) make sure you have the assembly complete before installing said plate.
– upper and lower hull leave a very visible, straight line gap at the joint in the front, where the upper and lower glacis are interlocking on the real thing.
– another gap is visible on the left side of the gun mask-to-turret join, check the fit of yours after clicking it into place.
– vision blocks on commander’s cupola are see-through unless you add something inside during assembly to avoid the effect.
– handle tracks gently – they can easily break into sections around the idlers and sprockets.
– don’t push tracks onto sprockets, the latter are easily broken.
Onto instructions:
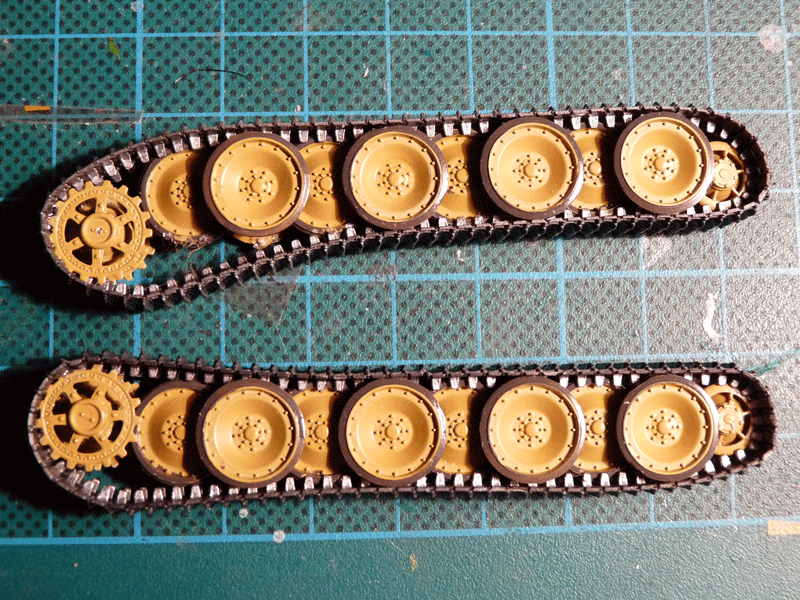
Step 1: CAREFULLY check which stations suspensions arms and their travel limiters go into. There are THREE different types of suspension arms and they all fit in all the openings.
Step 2: observe part numbering strictly. Wheel groups are molded to accept tracks and suspension arms as shown, and NO other way.
Step 3: follow instructions 🙂 I did not – assembled wheels and tracks together and tried to push them onto place. The result: my neighbors thought I was attacked and nearly called the police.
Step 4: make sure the holes on the spare track links are on the back end. Leave lights for the end, they are easily broken.
Step 5: follow instructions 🙂
Step 6: mounting holes on part C58 are asymmetric lengthwise – longer portion towards the back. Though they are tricky to mount the end – I’d leave Schurzen for later to make painting easier.
Step 7: I painted the jack and exhaust separately and added them at the very end. On each exhaust pipe mount – cut off one locating pin, they are too strong for such a gentle part and if you push too hard the assembly will break.
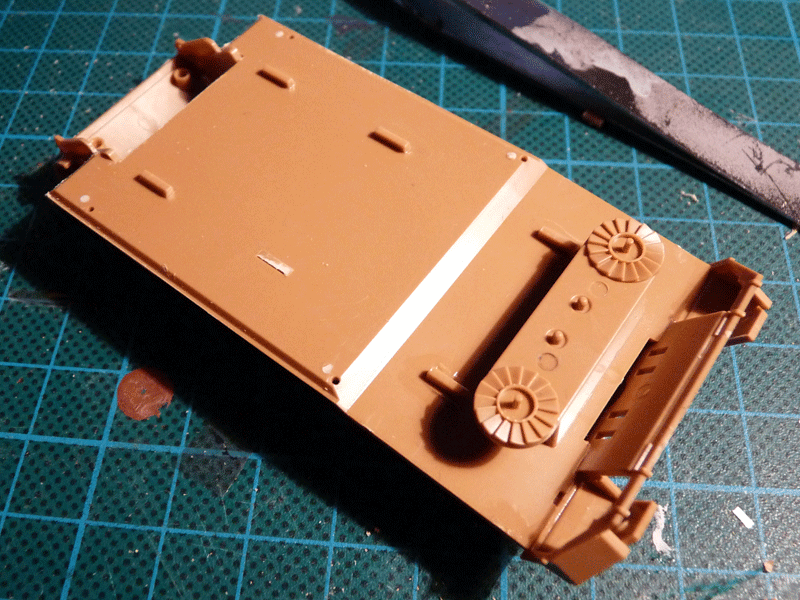
Step 8: the tub’s rear wall (C19) locks with the sidewalls in two holes. Mount this detail first and the top plate (C38) after that. If you put C38 first you won’t be able to spread the tub’s rear to accept the aft wall, so you will have to break the 6 pins that hold it in place.
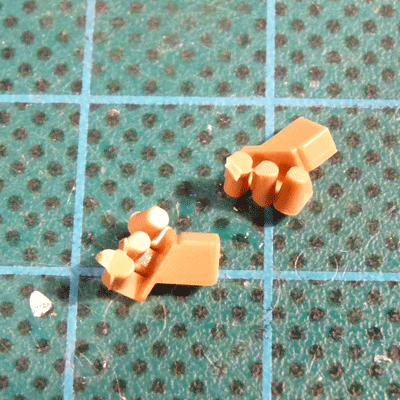
Steps 9, 10 and 11: no objections. Please note the turret grenade launchers (C50 and C51) are not really cylindrical. I replaced mine with plastic rod.
Changes made:
– drilled muzzle brake,
– replaced the tow cables with steel ones from RB Models,
– hatch handles made from wire,
– the decals were off-register – not much, but since the white border is very thin this will be very visible. I used codes from my other Panther – Dragon 7252.
Paint:
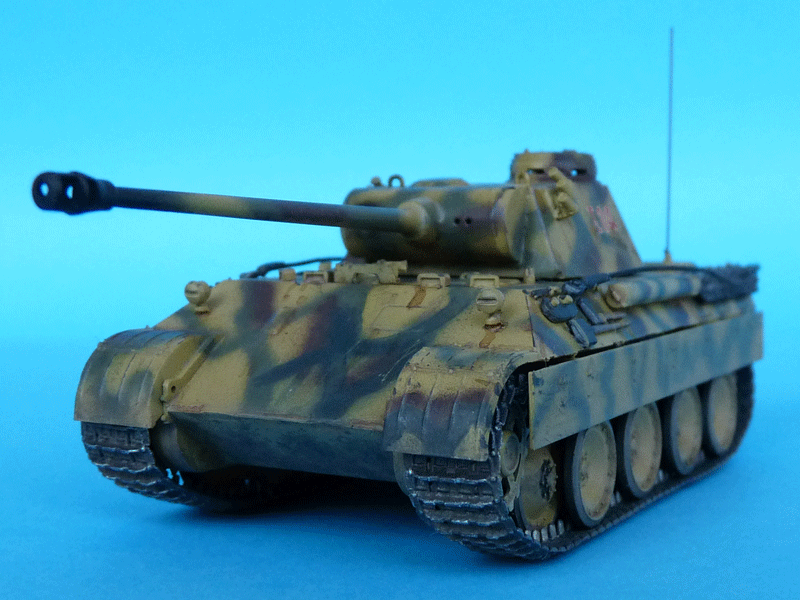
– camo: yellow is Gunze H403, lightened with 10% white; green is straight H405; brown is H406, overpainted with some dusty pigments to lighten it up (too contrasty).
– metal parts – MM Gun Metal and Burnt Metal.
– rubber bandages – H32 Field Grey.
– smoked areas – black pigment + Alclad II Engine manifold.
– wood – Revell 83 and 381 (also used on tracks).
– stains – H2Oil burnt umber and paynes grey, drawing ink.
– matt coat – Vallejo Matt Varnish in several layers, including mixed with dust and sand pigments to help weathering.
Conclusion: this is a great kit. Easy to assemble, pleasant build (if you follow instructions), which requires attention so as to not mix the parts up and avoid goofs. Glacis plates should have been made like on the real thing to avoid the gap at the join. Well done Zvezda!
I filled it and attempted to mimic the join line of the actual vehicle – click on images below to see if I managed it.
-
- Zvezda 1/72 PzKpfw V Panther Ausf D, kit 5010 Tracks + wheels
-
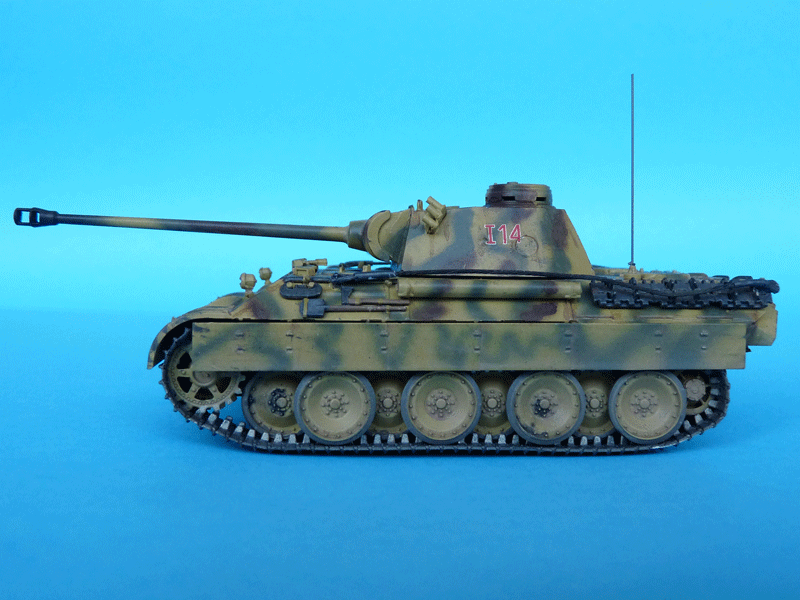
- Zvezda 1/72 PzKpfw V Panther Ausf D, kit 5010
-
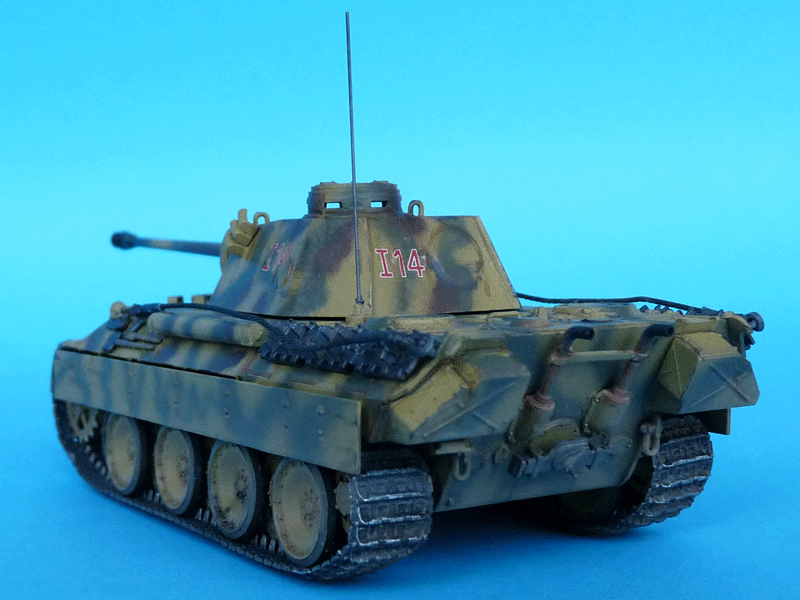
- Zvezda 1/72 PzKpfw V Panther Ausf D, kit 5010
-
- Zvezda 1/72 PzKpfw V Panther Ausf D, kit 5010
-
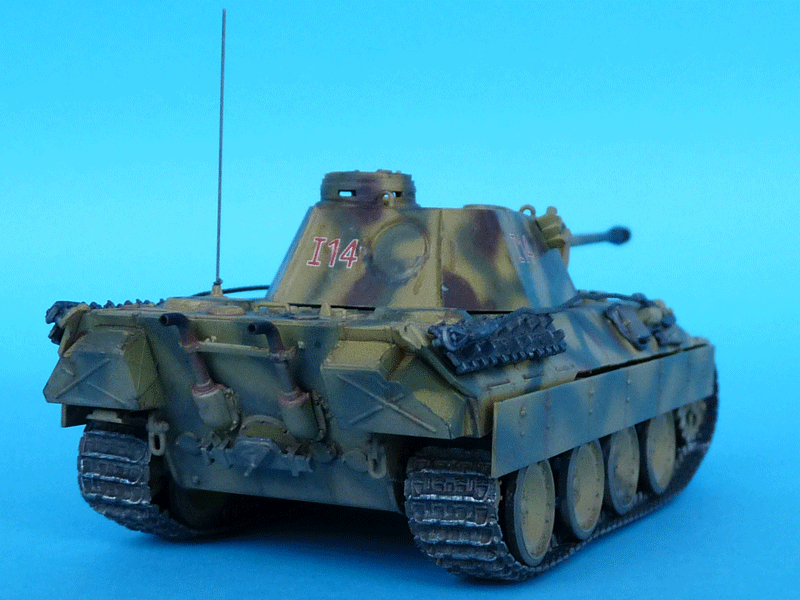
- Zvezda 1/72 PzKpfw V Panther Ausf D, kit 5010
-
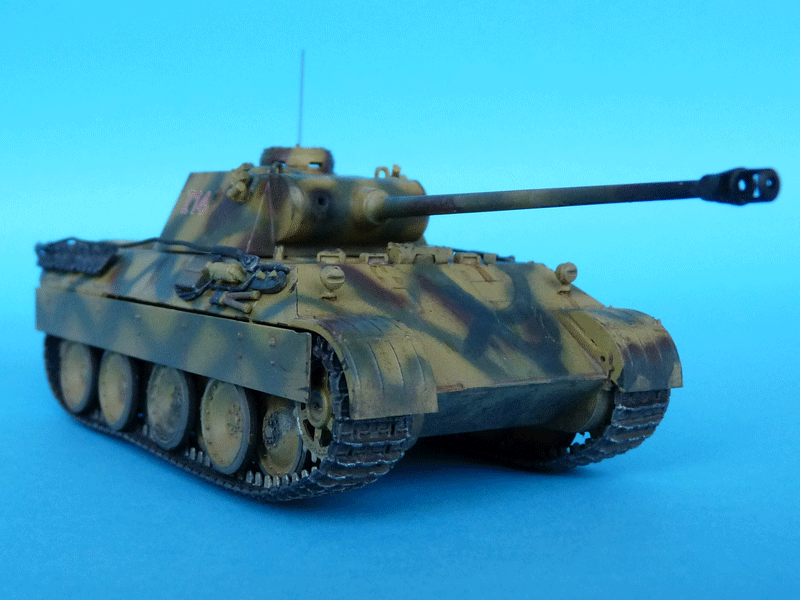
- Zvezda 1/72 PzKpfw V Panther Ausf D, kit 5010
-
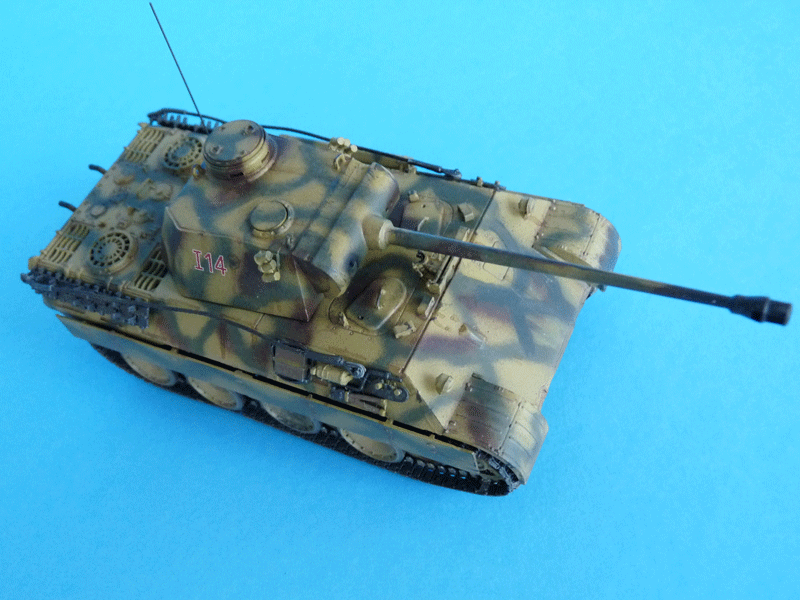
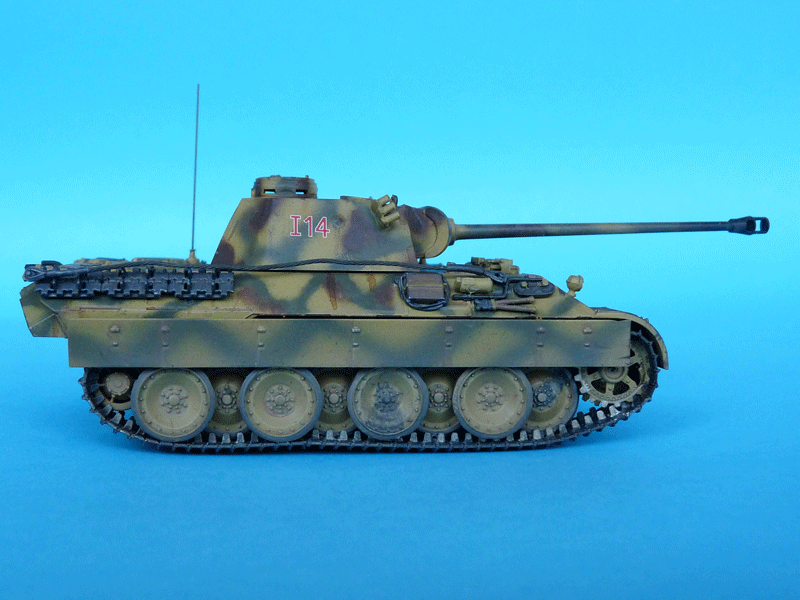
- Zvezda 1/72 PzKpfw V Panther Ausf D, kit 5010
-
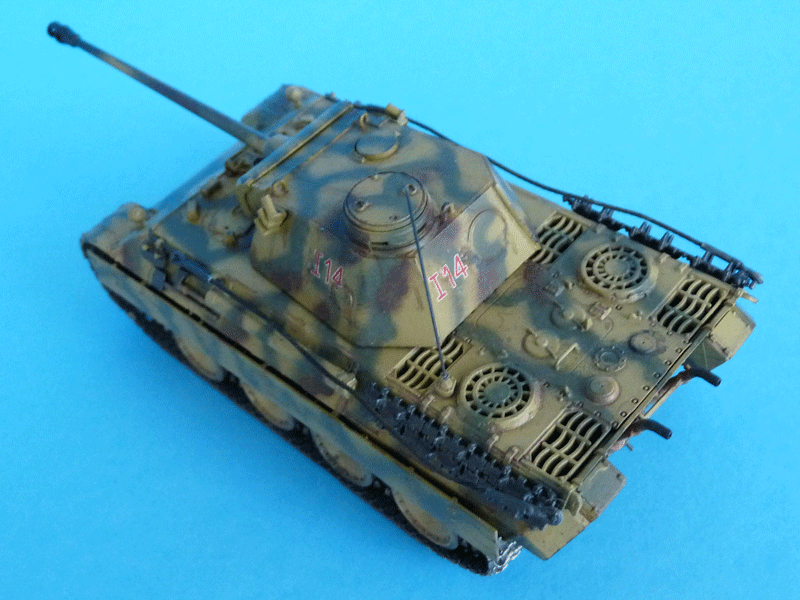
- Zvezda 1/72 PzKpfw V Panther Ausf D, kit 5010
-
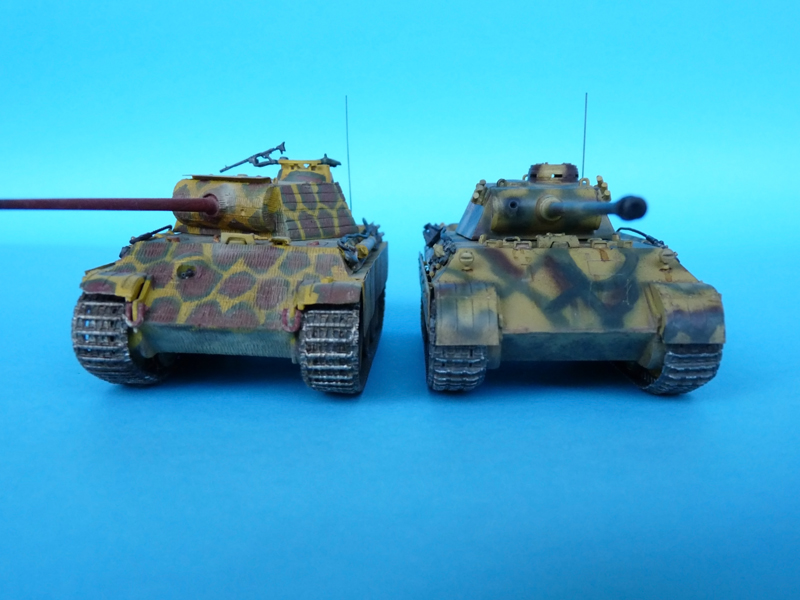
- With Dragon’s early Ausf. G w/ Zimmeritt
-
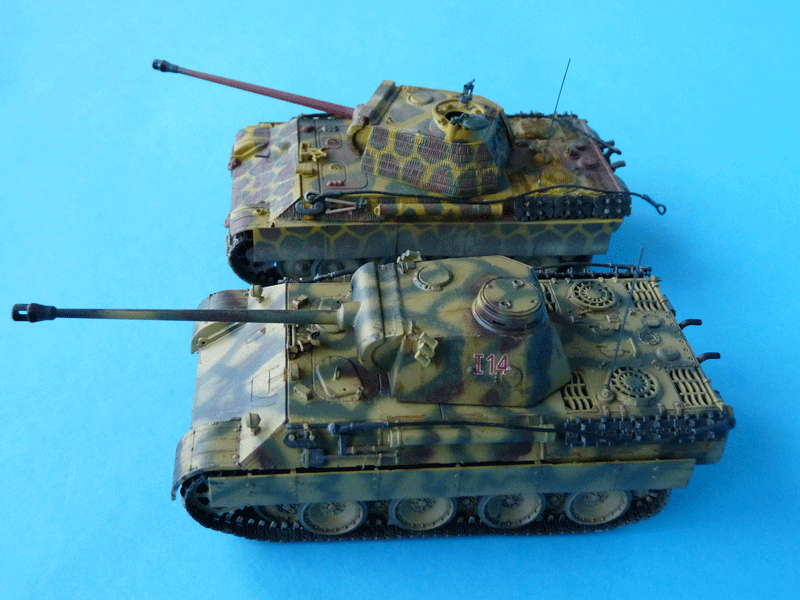
- With Dragon’s early Ausf. G w/ Zimmeritt
-
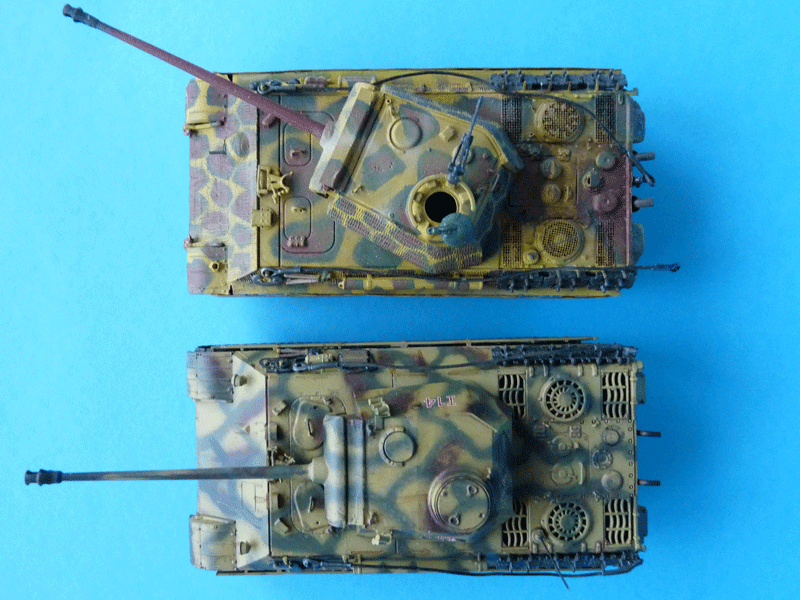
- With Dragon’s early Ausf. G w/ Zimmeritt
One thought on “Zvezda’s Braille Panther D completed”
Comments are closed.